
How to Do a Screenshot on PC Like a Pro
Looking to capture important moments on your computer screen? Learning how to take a screenshot on your PC can be a valuable skill for work, school, or personal use. With various methods available, you can choose the one that best suits your needs. Let’s dive into the different ways to capture screenshots with ease.
1. Using Keyboard Shortcuts:
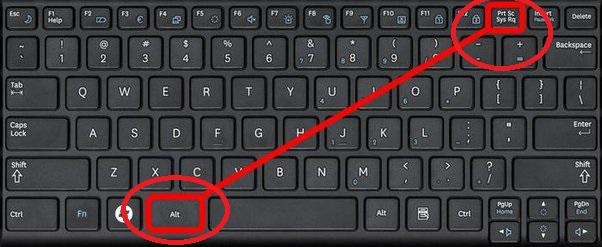
One of the quickest ways to take a screenshot on a PC is by using keyboard shortcuts. For a full-screen capture, simply press the PrtScn key. To capture only the active window, press Alt + PrtScn. The captured image is copied to your clipboard, which you can then paste into an image editing software or a document.
2. Snipping Tool:
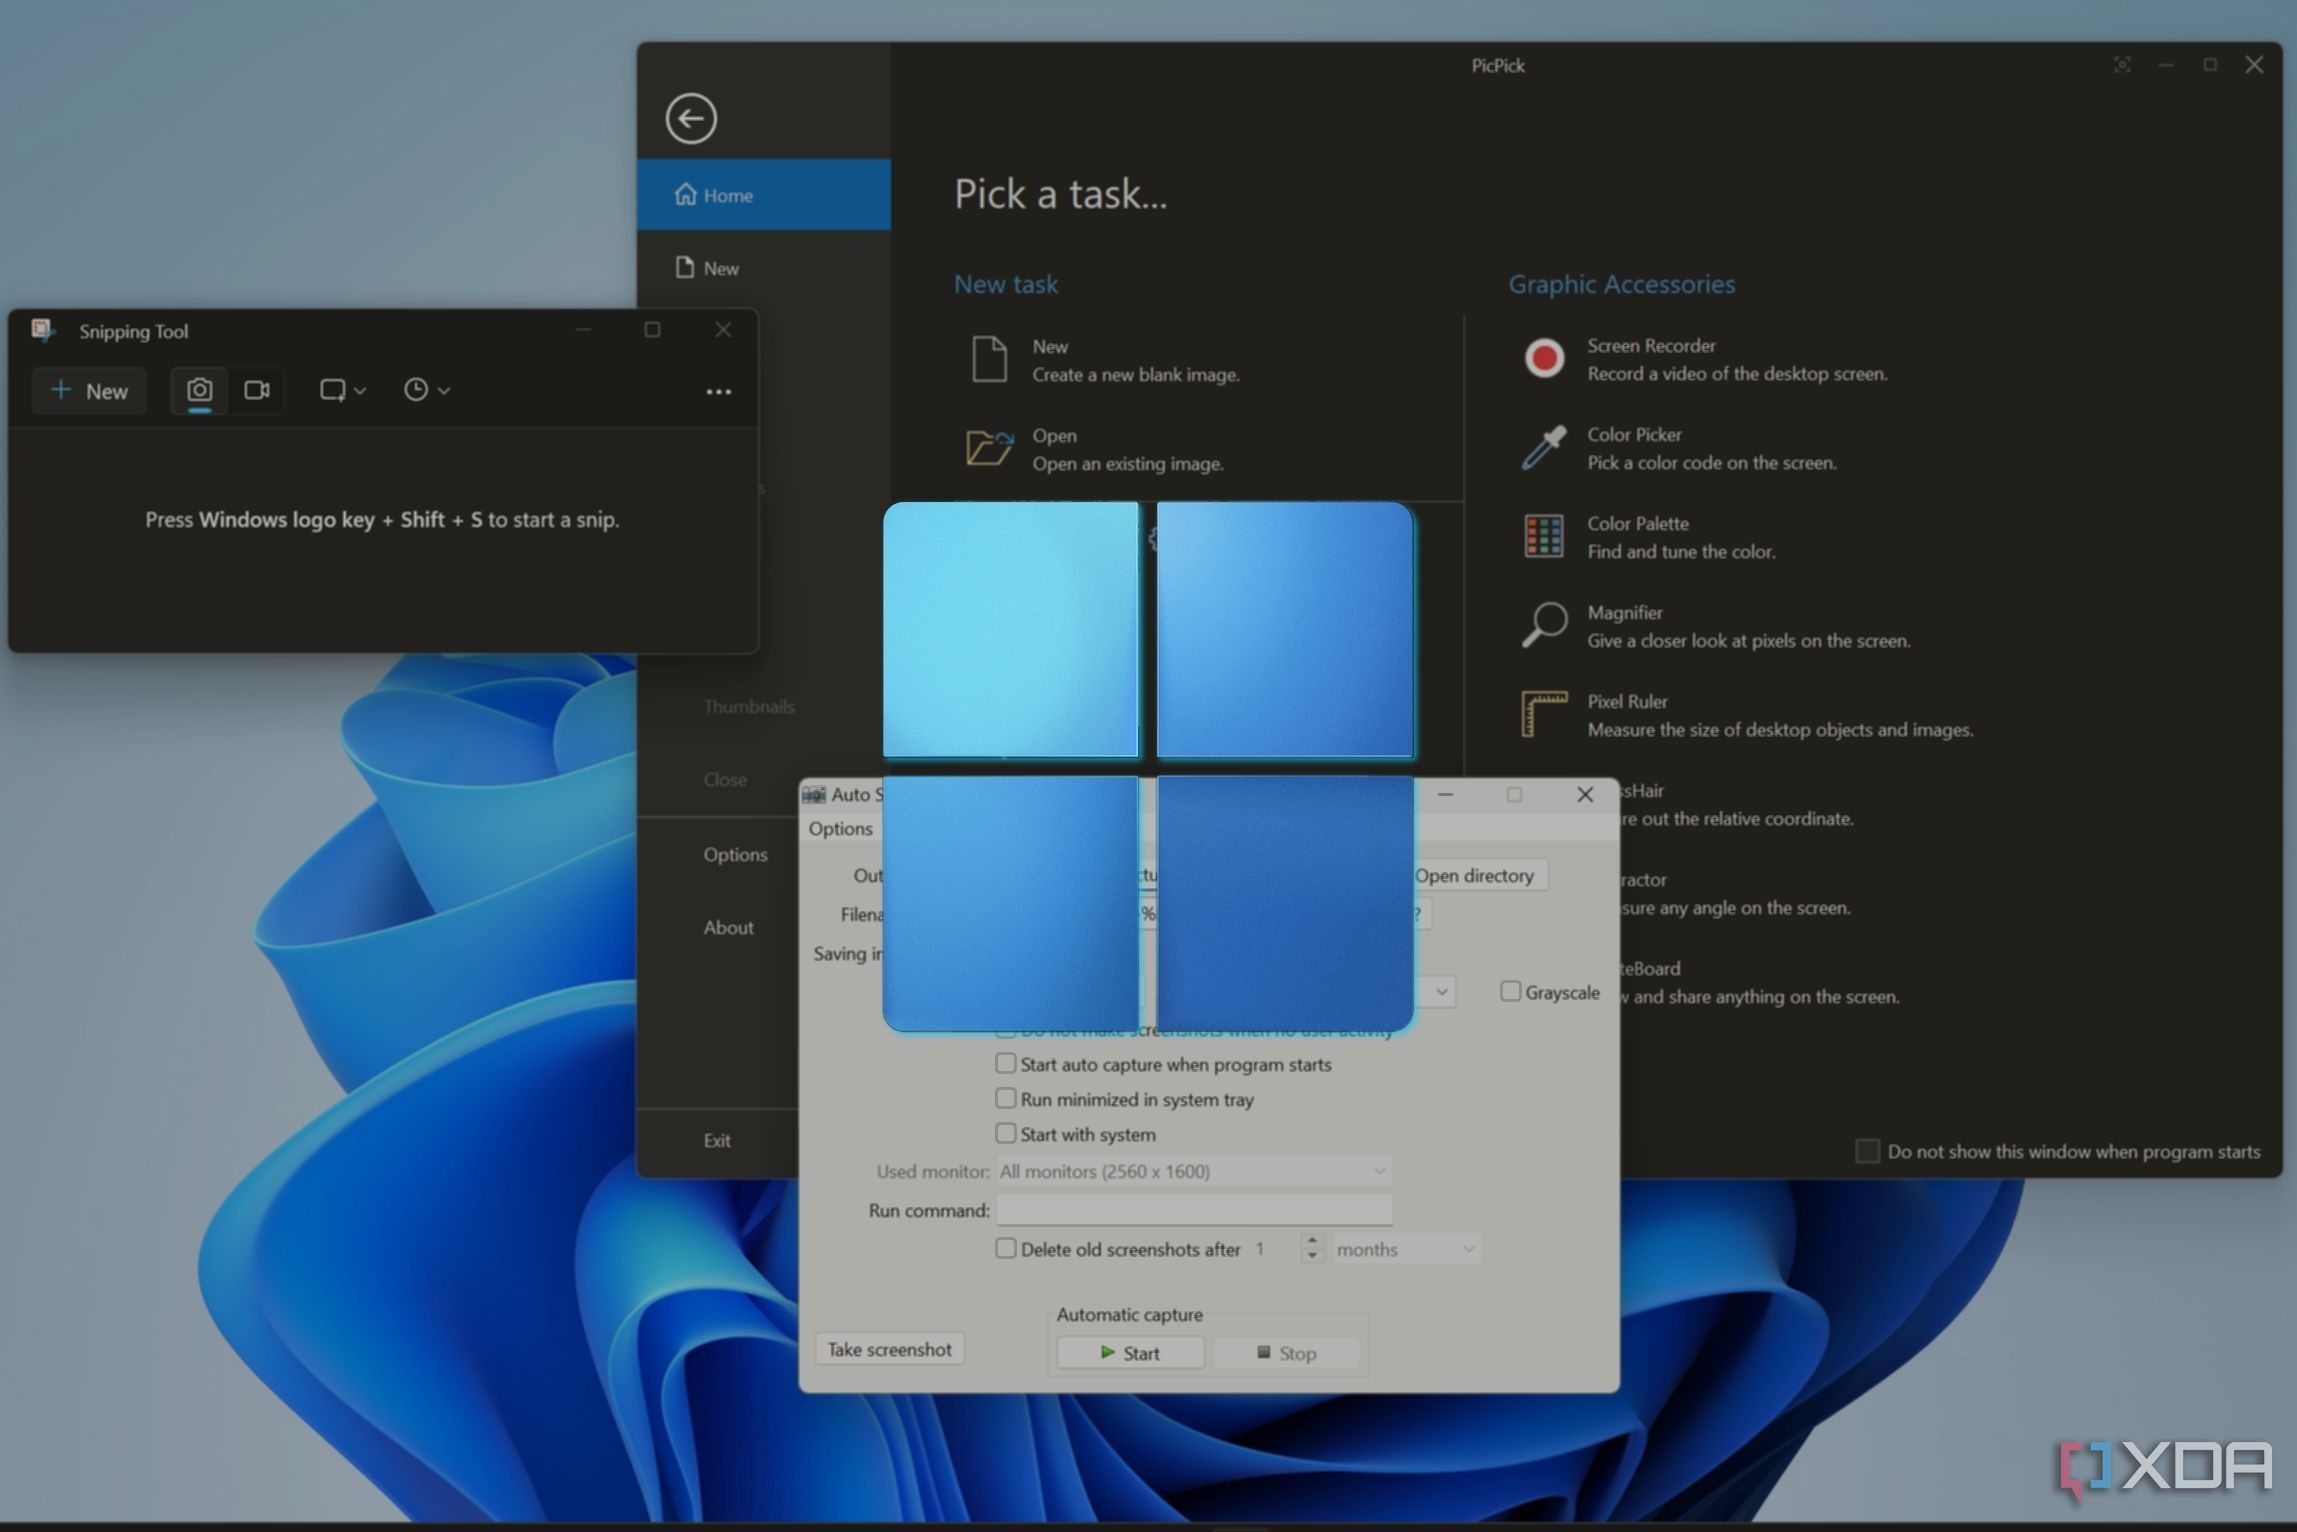
Windows also offers the Snipping Tool, a built-in application that allows you to capture a custom area of the screen. Simply search for Snipping Tool in the Start menu, open the application, select the type of snip you want, and drag the cursor to capture the desired area. You can then save the snip as an image file.
3. Snip & Sketch:
For Windows 10 users, the Snip & Sketch tool provides an enhanced way to capture and annotate screenshots. Press Windows + Shift + S to open the Snip & Sketch toolbar, choose the type of snip you want, and annotate the screenshot using the available tools. The captured image is automatically saved to your clipboard.
4. Third-Party Tools:
If you require more advanced screenshot features, consider using third-party tools like Lightshot, Greenshot, or Snagit. These tools offer additional functionalities such as screenshot editing, sharing options, and cloud integration, making them ideal for professional use.
5. Game Bar:
For gamers using Windows 10, the Game Bar feature allows you to capture screenshots during gameplay. Simply press Windows + Alt + PrtScn to take a screenshot of your current game window. You can access the captured screenshots in the Captures folder under Videos in the File Explorer.
6. Using Browser Extensions:
Some web browsers offer extensions that enable easy screenshot capture directly from the browser window. Extensions like Nimbus Screenshot and Screen Capture allow you to capture full-page screenshots, specific elements, or even record screencasts for quick sharing and collaboration.
Mastering the art of taking screenshots on your PC can enhance your productivity and communication skills. Whether you prefer keyboard shortcuts, built-in tools, or third-party applications, there’s a method that suits your workflow. Experiment with different options and choose the one that helps you capture and share information effortlessly.
How to Do a Screenshot on PC: A Simple Step-by-Step Guide
Are you looking to capture an image of your screen on your PC but don’t know where to start? Taking a screenshot can be a quick and convenient way to save information or share something with others. Here, we will walk you through the simple process of taking screenshots on your PC using keyboard shortcuts.
Step 1: Understand Your Keyboard
Before we dive into the specifics of taking a screenshot, it’s essential to understand the keys on your keyboard. The keys we will be using are typically labeled as Print Screen, PrtScn, or something similar.
Step 2: Taking a Full-Screen Screenshot
If you want to capture everything on your screen, press the PrtScn key. This will copy a screenshot of your entire screen to the clipboard.
Step 3: Capturing a Specific Window
To take a screenshot of a specific window, first, make sure the window is active. Then, press the Alt and PrtScn keys simultaneously. This will capture an image of only the active window.
Step 4: Saving Your Screenshot
Once you have taken a screenshot, you can save it by opening an image editing program like Paint or Microsoft Word and pressing Ctrl + V to paste the screenshot. You can then save the image in your desired format.
Step 5: Using the Snipping Tool
If you prefer a more customizable approach to taking screenshots, you can use the Snipping Tool. Simply search for Snipping Tool in your PC’s search bar, open the tool, select the area you want to capture, and save the screenshot.
Step 6: Taking Screenshots with the Windows Key
For Windows 10 users, you can also use the Windows Key + Shift + S shortcut to open the Snip & Sketch tool and capture a screenshot of a specific area of your screen.
Step 7: Editing and Sharing Your Screenshots
After capturing a screenshot, you can edit it by using built-in tools or third-party software. Once you are satisfied with your screenshot, you can easily share it with others via email, social media, or messaging apps.
- Capture your screen effortlessly with these simple keyboard shortcuts
- Customize your screenshots using the Snipping Tool for more control
- Edit and share your screenshots with ease
Now that you have learned how to take a screenshot on your PC, you can easily capture and share important information and images with others. Practice using these shortcuts, and soon you’ll be a screenshot pro!
How to Do a Screenshot on PC: Mastering the Art of Capturing Your Screen
Are you looking to learn how to do a screenshot on your PC like a pro? Look no further! In this comprehensive guide, we will walk you through the steps to capture your screen effortlessly, whether you are using Windows or Mac.
Method 1: Using Built-in Tools
Windows users are in luck because they have a powerful built-in tool called Snipping Tool. To access this tool, simply search for it in your Start menu. Once open, you can choose from different snipping modes such as Free-form, Rectangular, Window, or Full-screen. After taking the screenshot, you can save it or annotate it with different colors and highlights.
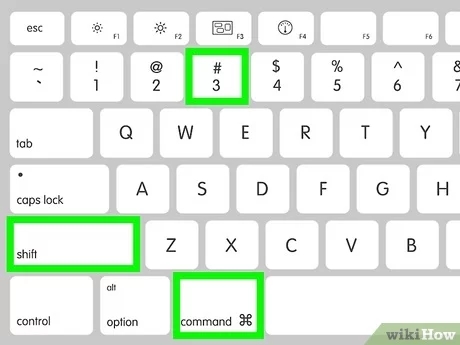
Mac users can also take screenshots easily. Press Command + Shift + 4 to activate the screenshot cursor. You can then click and drag to select the area you want to capture. The screenshot will be saved on your desktop automatically.
Method 2: Using Third-Party Tools for Advanced Options
If you are looking for more advanced screenshot options, there are several third-party tools available that offer additional features. These tools allow you to capture scrolling windows, record your screen, or even edit your screenshots with advanced editing tools.
- Camtasia: A powerful tool for capturing and editing screenshots and videos.
- Snagit: Perfect for capturing scrolling windows and creating customized screenshots.
- Greenshot: An open-source tool with a focus on productivity and efficiency.
Conclusion
Learning how to do a screenshot on your PC is a valuable skill that can save you time and effort. Whether you choose to use the built-in tools like Snipping Tool or explore third-party options for more advanced features, capturing your screen has never been easier. With the right tools and techniques, you can master the art of taking screenshots like a pro!

